
Kids Go Gardening - hypertufa pots
Do you like making mud pies? With a bit of help from a grown up you can take it to another level and make your own fake rock “Hypertufa” pots.
Hyper means ‘extremely’ and tufa (pronounced “Toofa”) is a special kind of limestone rock. Hypertufa means extremely similar to tufa rock. Even though it looks so much like rock, especially when it gets old and weathered, the good thing about hypertufa is that it is nowhere near as heavy as actual rock.
Gardeners have been machining hypertufa pots for ages, because they look so great and plants love growing in them. You can make really big hypertufa pots, but its best to start small. It’s a bit like baking a cake!
You will need:
- Rubber gloves
- Dust mask
- Apron or old clothes
- An icecream container
- A smaller plastic pot, eg a large honey pot or plastic plant pot
- Plastic supermarket bags
- A 2cm piece of garden hose
- Water
- Dry ingredients:
1 part peat
1 part perlite
1 part Portland cement
(For each pot we used about 3 cups of each)
- Put on your dust mask and rubber gloves.
- Mix the dry ingredients together thoroughly.
- Add water gradually as you mix. Once the mix is fully wet, its OK to take the dust mask off. Use your gloved hands to mix and break up any clumps until you have a mixture that holds together in a ball like cookie dough.
- If the mixture is sloppy, add more dry ingredients (mixted in equal parts) until it feels right. If the mixture is too wet, the pot will be weak and break easily.
- Line your icecream container with a plastic bag.
- Pack the base of the container with hypertufa mix about 2cm deep, pressing down with your hands.
- Make a drainage hole: Use a stick (or grown up’s finger) to make the hole in the centre and then insert a 2cm piece of garden hose, pressing the mix firmly around the outside of it but leaving the hole open. Alternatively, holes can be made with a drill once the pot is made.
- Build the sides: Cover the smaller pot with another plastic bag and sit it in the centre of your icecream container mould, over the drainage hole. Holding the centre pot in place with one hand fill in the sides with mix, packing it down firmly as you go.
- Smooth off the top and decorate. You might use pebbles, shells, beads or buttons. We used glass marbles and broken crockery.
- Leave to set for 24 hours before removing your masterpiece from its mould. The plastic bags make this easier. Be careful, it is still quite soft.
- Use a wire brush and damp rough cloth to smooth of the rough edges and clean up your decorations. Make sure the drainage hole is open. Your pot will take a week or so to be completely hardened. It is best to keep it out of the sun so it sets slowly.
- Now just as add potting mix and plants! Little plants that love well-drained soil are perfect, especially cacti and succulents.
Get creative!
- Use your left over hypertufa to make pet rocks, mini sculptures or stepping stones for your garden.
- You can carve shapes and write words into hypertufa.
- Try out different moulds with different shapes and sizes, but make sure they are easy to remove. Cardboard boxes are great because they are easy to rip off.

4-Nov-2015

Succulents growing in hypertufa pots
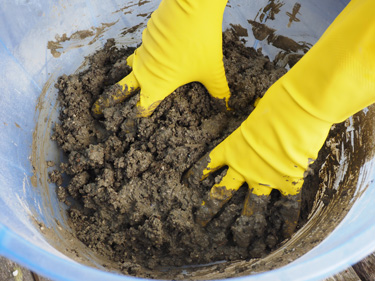
Use gloves to really mix the ingredients well
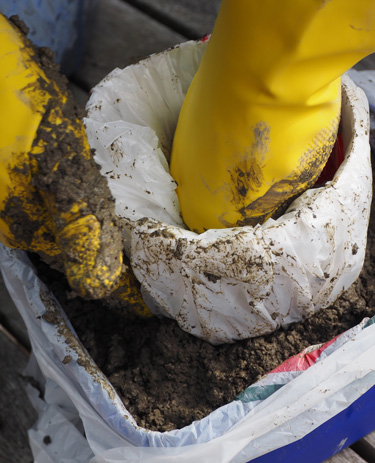
Making the pot shape using two containers
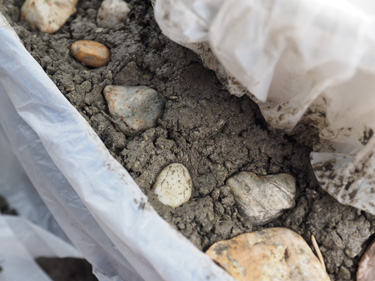
Decorate with pebbles, shells or glass beads
In the Garden
